I remember hopping on my friend Davey’s Yeti 303 DH bike, so excited to try the new sliding rail system, and going to manual through the campground at Sea Otter. Well, I got about 50 feet into that manual down the hill through the campsite, full of my cheering friends, and went to feather the rear brake. Turns out Davey had his bike set up moto style! With a left side rear brake- not my (nor anyone else’s) normal set up. Loop-Out-Larry I was, going over the back of the bike, landing on my backside, yielding a sore bacl for a week. Quite literally, I was butt-hurt. Clearly, I used the wrong brake. Don’t let this happen to you!
This topic of when to use which brake, and when, is a GREAT one, and before we take the discussion to the trail, we’ll actually take it someplace mellower and do some drills first!
I’ve posted the full video on this subject to my Patreon page where I post a new, full length riding tutorial every month!

First, warm up with front tire skids: hold the front brake lever, sit down on your saddle, lean back, and pedal. This is one of my favorite ways to warm up for drills.

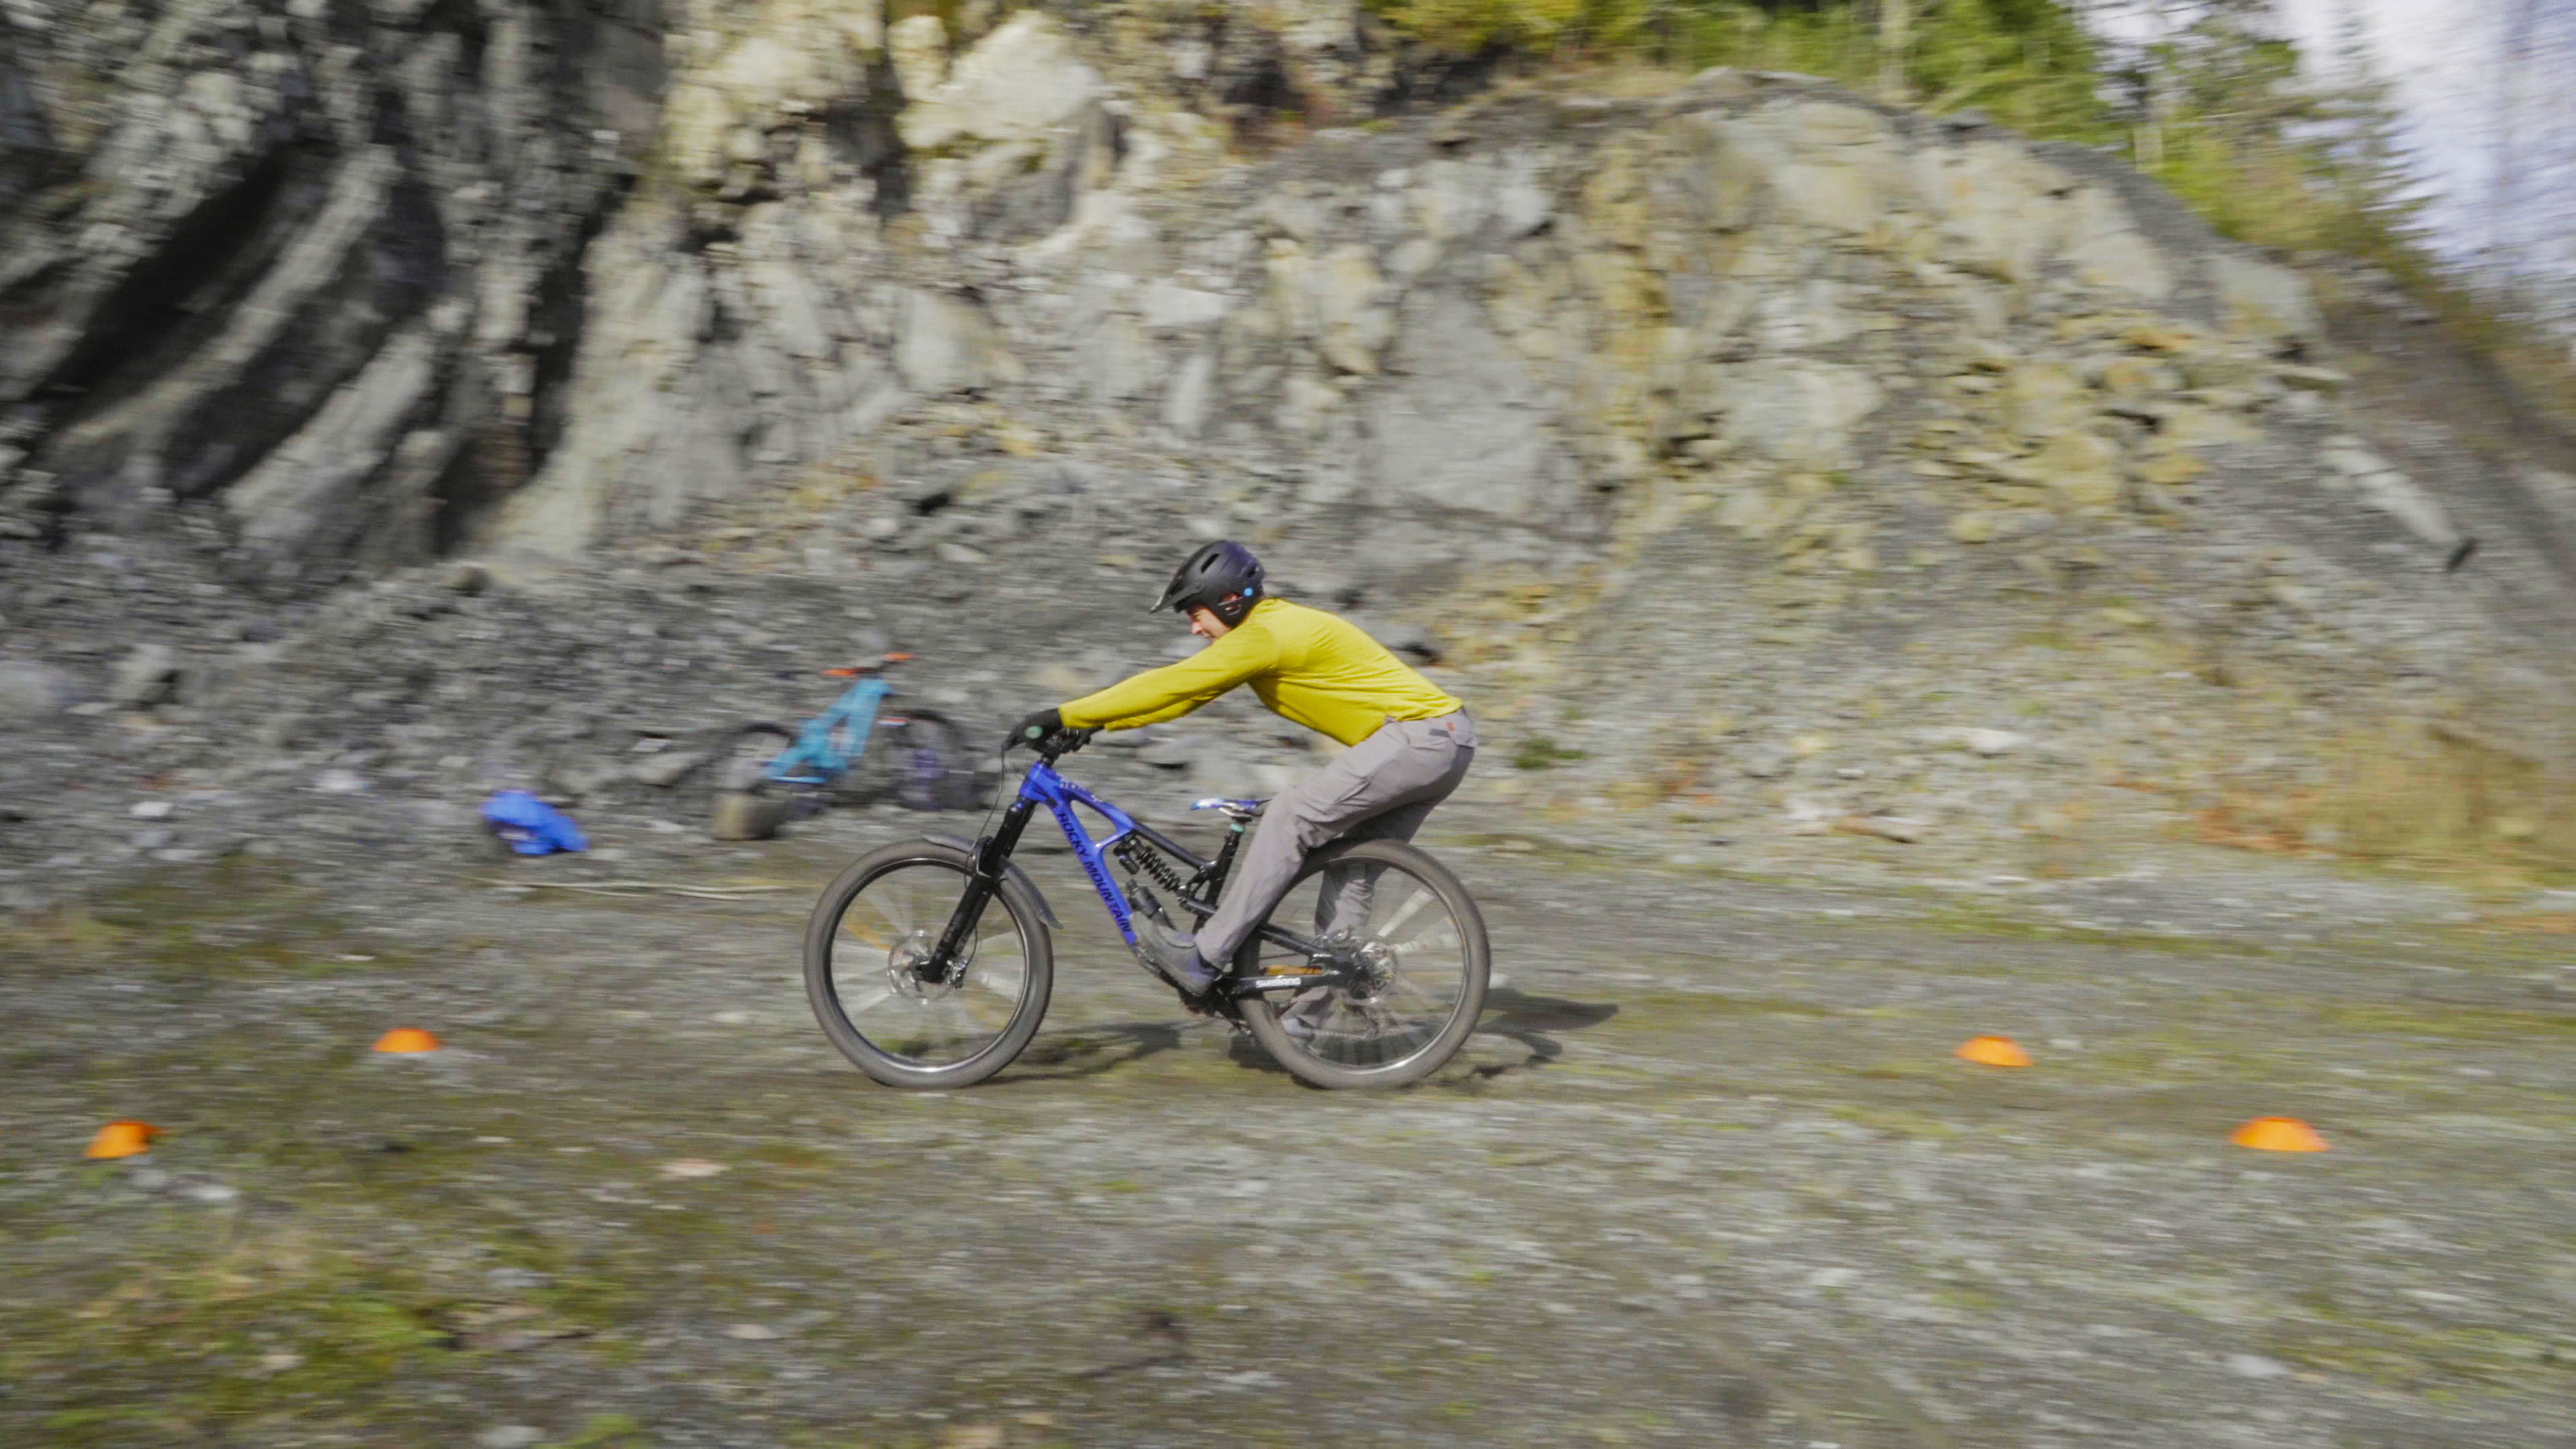
On to the drills! The main drill here requires a set up with three lines: a starting line, then about 50 meters away, a braking point, and a couple bike lengths further, a finish line. Your goal is to pedal in fast, then hop on the brake(s) hard, and you need to come to a full stop before going past that finish line. Pedal from that starting line a set number of pedal strokes, often 5 is plenty to get up to speed. Once you reach that braking point, do the following:
Use only your rear brake. Repeat ~6 times.
Now use only front brake. Repeat ~6 times.
Then use both brakes. Repeat ~6 times.

Then, add an obstacle that you don’t want to actually hit- I like to use cardboard boxes. Repeat the above three techniques, and notice how close you can get to the actual object without contacting it. This teaches how to control your use of each brake- and in a safe, repeatable manner. Don’t just do these drills once- run through them as much as you can.
Sounds easy, right? Now make it harder and shorten the timing. Bring that finish line closer to the braking point.
Trail riding! Most of the time, when you go to brake, you’ll be using both brakes. Really, the crux of this tutorial is to know when to NOT use both brakes.
Rear brake: Rear brake is a secret godsend to keep you from getting butt-hurt. Should you find yourself needing control while on the rear wheel- either to keep speed in check or to avoid looping out- that rear brake is your best friend. While I can manual without a brake, I almost always have my lever somewhat pulled, ready to feather the rear wheel. On the trail, if you try some daring luck, and find yourself all burned out, then don’t fear, pull that rear brake!
Furthermore, focus on using that rear brake when you’ve got minimal traction. This includes turns, off camber sections, any kind of dimensional lumber, wet soil, etc.

As you learned while practicing the above drills, the front brake provides the majority of stopping power. However, it’s a double edged sword- if you grab ever so slightly too much front brake, in those situations it is VERY easy to end up with a front wheel slide. That in turn will send you off the trail and face first into the dirt. With a rear wheel slide, you might not even notice it much as it’s rarely catastrophic. If a rear wheel slide turns into a crash, it’s one I’d much rather experience than a front wheel wash out.


Let’s break down (pun oh so intended) some tricky and steep turns. Something where if you come in fast, you’ll likely need to slow through the turn. Use both brakes on the intro. Then as you begin to actually change direction, release the front brake, and lighten up on the rear brake pressure for the actual turn. If you can’t slow down in time without going heavy on the front brake, then go wide on the turn. It’s always better to run a little wide, but with full control, than to turn too sharp while on the front brake and end up with a front wheel wash out.

Front brakes are used somewhat sparingly, but man, if you practice those drills a lot, you can get a lot of stopping power out of the front brake. Practice getting as low to your bike as possible, as that will increase your connection to it and allow for even more stopping power. When doing rear braking, practice getting down and back in order to weight that rear wheel.
Speaking of the rear brake, another time I like to use it is to control my positioning during a wheelie or manual. That’s covered in more detail in my various manual tutorials. Furthermore, if I get wonky off a jump, and end up too nose high, I’ll plan on landing while using some rear brake. Avoid death gripping the brake, as that’ll likely cause a crash. But you can use a small amount of brake pressure to control a rear wheel heavy landing.
Check out the full-length video for this topic and subscribe to my Patreon page! For only $7 or $10 a month, you’ll have access to over 30 Patreon exclusive tutorial videos. Consider becoming a Patron today and supporting my efforts to be a full-time mountain biker!
