Hey guys! My last Patreon tutorial of 2019 is now live!!! For anyone who is unfamiliar with the Patreon setup, I post riding tutorials exclusively for my patrons every single month. This month is how to stoppie, round 2.

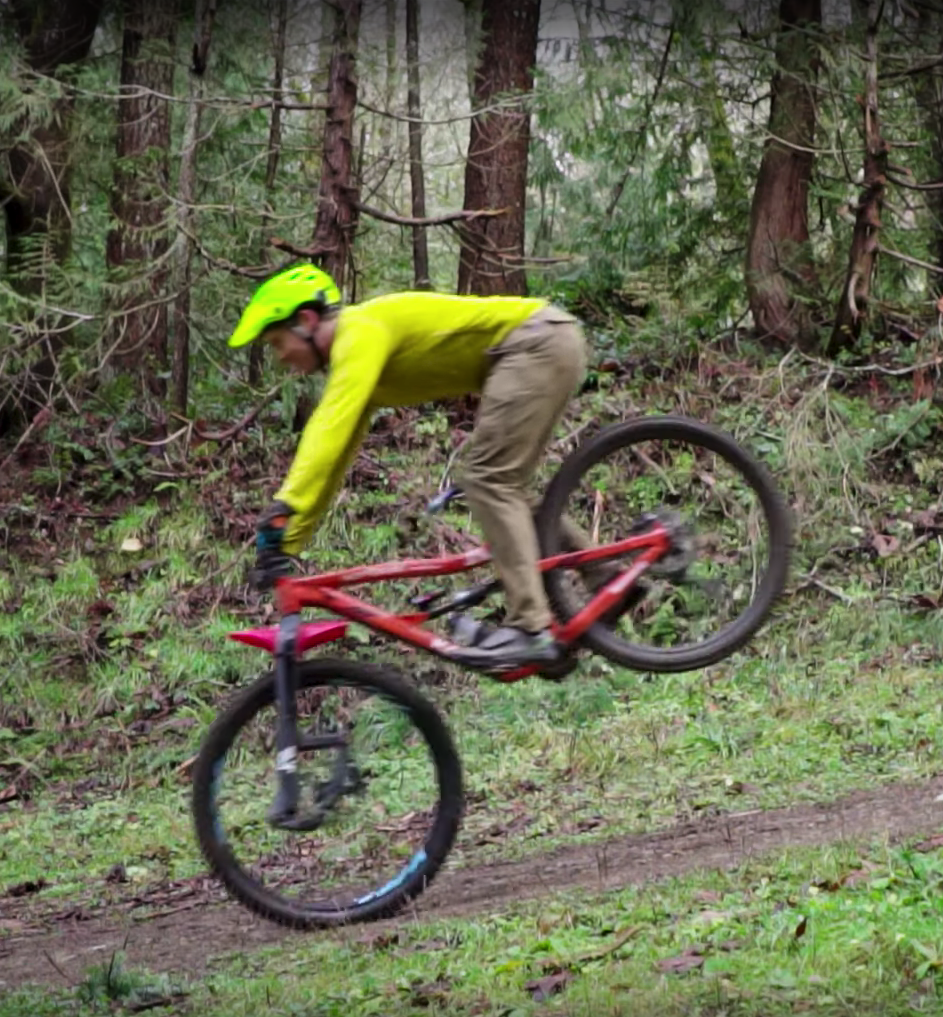
You’ve likely seen me do many nose wheelies in my videos, and as a result, this has been one of the most requested tutorials thus far.
I did a “how to nose wheelie a corner” video back in April, but this will be a little different, as we’ll go over some of the tricks I use to eeek more distance out of a nose wheelie, where as the other video applies specifically to cornering.
I use the terms nose wheelie, stoppie, and nose manual all interchangeably and indiscriminately. This is not the most practical move on the trail, but it is fun and adds a really unique technique to your skill book.
Where to do a nose wheelie
Choosing the right spot is the most critical part of the whole game! You will be slowing down while doing this, so plan to utilize it in situations where you NEED to scrub some speed. To dive a bit deeper, consider utilizing a rise or bump in the trail into the strategy. This means you can use less front brake and minimize your speed loss.
I use the nose wheelie on really steep trails to help modulate speed while minimizing my bike’s footprint. In case there are two roots that are too close together to fit the whole wheel base, the stoppie will get the bike through it cleanly. Or I need to move the rear of the bike to lean the whole rig in a new direction, like you can see in the follow cam footage. Or, if for whatever reason, I want to get some momentum going forwards, such as to nose in on a steep landing, it can be really helpful.
How to do a nose wheelie
On a ride-in stoppie, I give the handlebars a push as I squeeze that front brake lever, simultaneous to this, it’s critical to swing body weight forwards. I also lower my body towards my bike.
This leads us into the biggest takeaway: pushing and pulling the handlebar fore/aft is crucial to control the nose wheelie! Start to drop that rear wheel? Push the bar forwards and steepen the bike. Starting to go over the front? Pull back on those bars as hard as you can! The front brake is critical to feather, but controlling the angle of the bike via the handlebars and your arms is more significant.
If you wan’t to get maximum distance, then don’t do a traditional “stoppie” where you come to a full halt!!! After most of the nose wheelies I do on the trail, I give the handlebars a slight yank upwards so that the front of the bike hops off the ground. This hits the “reset” button on a lot of the stoppie physics, and it prevents you from the highly undesirable “stop” that all beginning nose wheeliers do. By not coming to a full stop you’ll be able to use the stoppie as effectively as possible.
Final pro tips?
If you want to stoppie off a drop, be sure you’ve got a solid grasp on how to hop the bike out of the nose wheelie. This hop will be how you can safely depart from drop without going OTB or catching your rear wheel. And FWIW, catching your rear wheel on the lip of a drop is FAR MORE DESIRABLE than going OTB!!!

General Affiliate Links:
Jenson USA: https://bit.ly/JensonUSA2022JKW
Industry Nine: https://bit.ly/IndustryNine2022JKW
PNW Components: https://bit.ly/PNWComponents2022JKW
Shimano: https://bit.ly/Shimano2022JKW